The Sinking City 2 Combat Guide: Weak Points, Ammo, and Staying Alive
Master combat in The Sinking City 2 with this complete guide to weak points, ammo conservation, melee, dodging, and knowing when to run from Arkham's horrors.
Combat in The Sinking City 2 is not a power fantasy. It is a desperate, rationed, white-knuckle affair where every bullet you fire is a bullet you might need three rooms later — and the thing charging at you from the flooded hallway doesn’t care about your empty magazine.
If you’re coming from the first Sinking City, forget the relatively forgiving gunplay of Oakmont. Frogwares has rebuilt combat around survival horror fundamentals: limited resources, meaningful enemy weak points, and the constant question of whether fighting is even the right call. This guide covers everything the demo and previews have shown us about how to fight, when to fight, and when running is the smarter play.
The Weak Point System
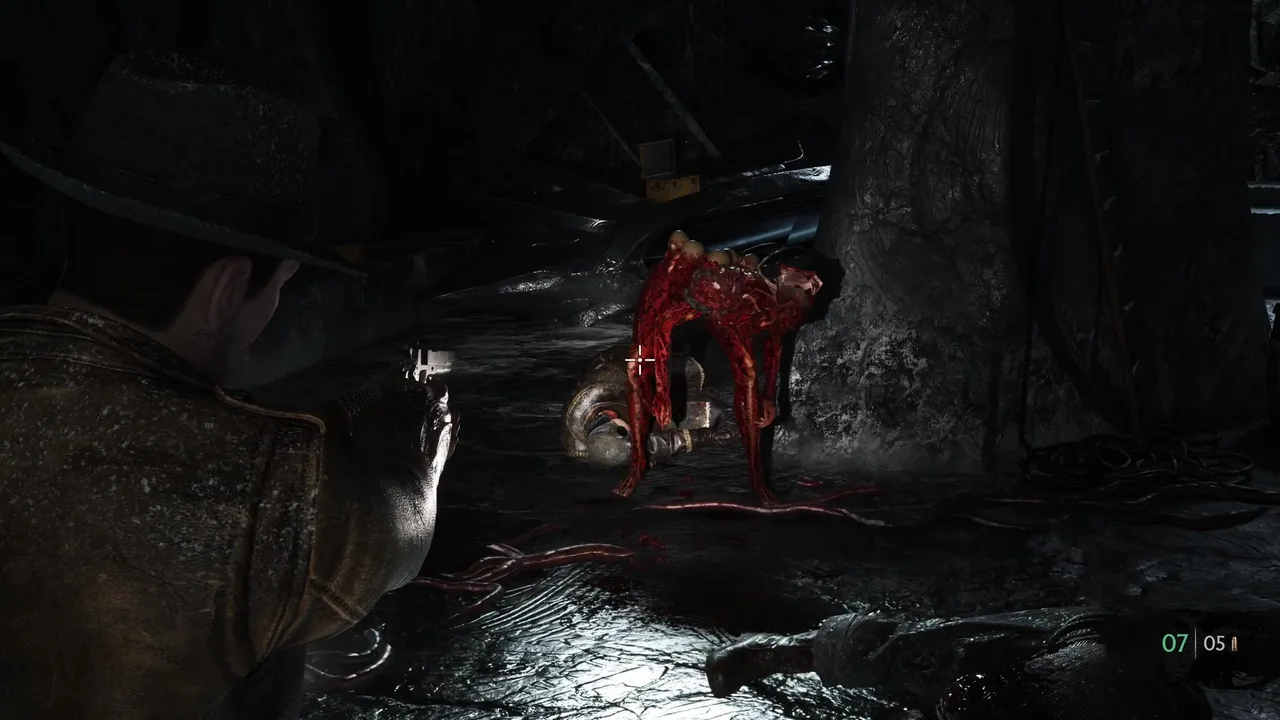
The single most important combat mechanic in TSC2 is the weak point system. Every enemy type has specific vulnerable zones — glowing tissue, exposed organs, luminous growths, unarmored joints — that take dramatically more damage than body shots. Learning where those zones are for each creature is the difference between wasting half your revolver ammo on a single Deep One and dropping it in two clean shots.
From the demo, here’s what we know about how weak points behave:
- Visual tells highlight them. They glow, pulse, or look distinctly different from the rest of the creature’s body. In darker areas, your flashlight makes them easier to spot.
- Hitting a weak point staggers most enemies, interrupting their attack animation and giving you a window to follow up or reposition.
- Destroying a weak point on certain enemies can cripple specific abilities — taking out a limb may slow a charging creature, or hitting a sensory organ could reduce its tracking accuracy.
- Weak points aren’t always visible at first. Some enemies may need to be provoked into an attack animation or a specific stance before their vulnerabilities open up.
The practical takeaway: don’t panic-fire center mass. Take that extra half-second to aim. In a survival horror economy, accuracy is currency.
Firearms: Every Shot Counts
Guns in TSC2 feel like they belong in the 1920s — bolt-action rifles, revolvers, shotguns, and maybe a semi-automatic pistol if you’re lucky. They hit hard, but ammo is genuinely scarce. The demo made this painfully clear: you’ll find a handful of rounds tucked into drawers, pocketed off bodies, or crafted from components, and that’s your supply until the next scavenging run.
Weapon Archetypes and When to Use Them
| Weapon Type | Best Used For | Ammo Rarity |
|---|---|---|
| Revolver / Pistol | General encounters, weak-point precision at medium range | Moderate — your bread-and-butter ammo |
| Shotgun | Close-range burst damage, staggering large enemies | Scarce — save for emergencies |
| Rifle | Long-range weak-point targeting, picking off threats before they close in | Scarce to very scarce |
| Throwables | Crowd control, area denial, softening groups | Crafted — component-dependent |
The revolver is going to be your workhorse. It’s accurate enough for weak-point shots, common enough in ammo, and doesn’t lock you into a long reload animation. Shotguns are devastating up close but eat through your reserves fast — treat them like a panic button, not a primary. Rifles reward patience and precision; if you can line up a weak-point headshot from across a flooded room before an enemy knows you’re there, that’s the ideal scenario.
For the full rundown on individual weapons and their expected stats, check our arsenal page.
Ammo Conservation Tips
This is survival horror, so hoarding is a virtue. Some principles that should carry over from the demo and the genre:
- Count your rounds. Not metaphorically — actually keep a mental tally. If your revolver holds six and you’ve fired four, you need to decide right now whether those last two shots are worth spending.
- Aim for weak points first, always. A well-placed shot does two or three times the work of a body shot. This is the single biggest ammo saver in the game.
- Don’t reload compulsively. If you’ve got three rounds left in a six-round cylinder and there’s nothing immediately threatening you, those three rounds are fine. Reloading at the wrong moment gets you killed anyway.
- Combine melee and firearms. Stagger an enemy with a melee hit, then place a precise firearm shot on the weak point while it’s reeling. This hybrid approach stretches your ammo considerably.
- Scavenge before you leave any area. Check drawers, shelves, behind counters, inside lockers. Survival horror games hide ammo in places you’d walk right past if you’re rushing.
Melee Combat: The Free Option
Melee is your zero-ammo fallback, and in TSC2 it looks like it’s been designed as a legitimate combat tool rather than a last resort. The demo showed melee attacks with wind-up animations, directional swings, and the ability to stagger smaller enemies. You’re not just whacking things with a pipe — there’s weight and timing to it.
When Melee Makes Sense
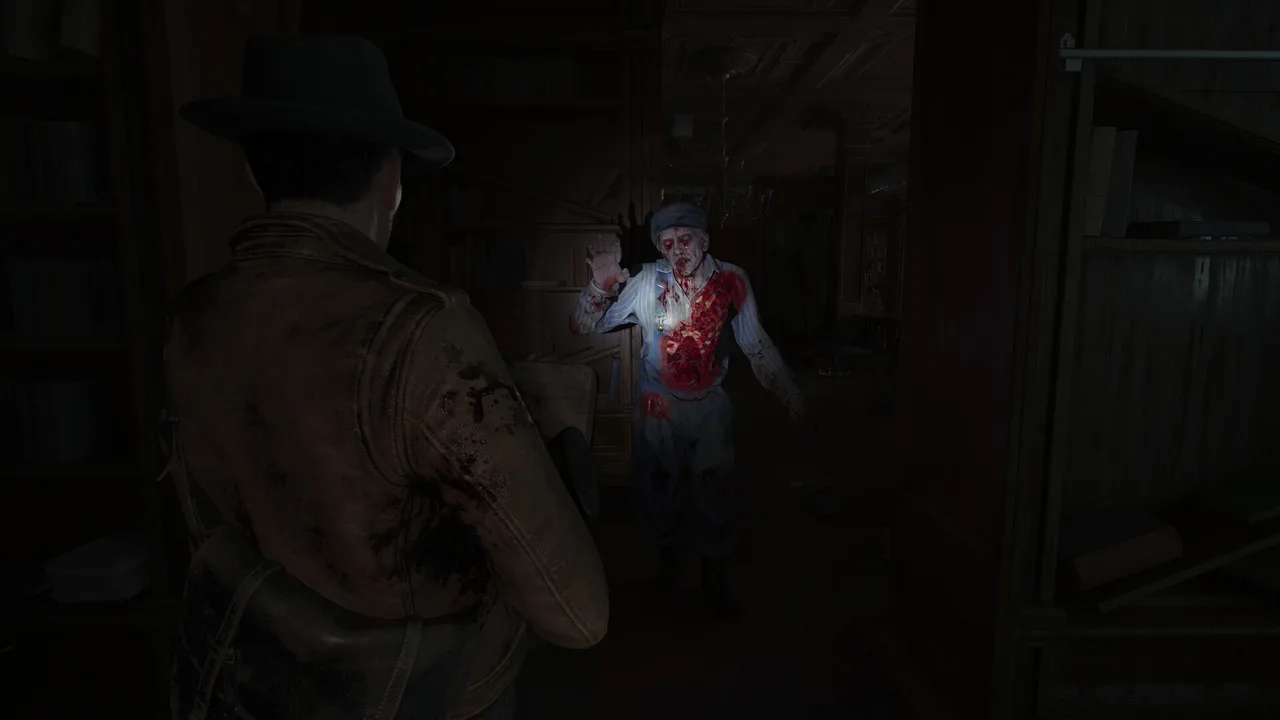
- Against isolated, slower enemies. A single Slither shambling toward you in a hallway? Melee can handle that without costing you a single round.
- As a combo opener. A strong melee swing can stagger an enemy, leaving its weak point exposed for a clean firearm shot. This one-two punch is probably the most efficient kill method in the game.
- When you’re genuinely out of ammo. It happens. Melee means you’re never completely helpless.
- Against breakable environmental objects. Boards blocking a door, weak walls, crates — save your bullets.
When Melee Is a Bad Idea
- Against multiple enemies. Melee locks you into animations. Two creatures flanking you while you’re mid-swing is a quick death.
- Against Deep Ones in water. They’re faster than you in flooded areas and close distance brutally. You want range, not melee.
- Against bosses or elite enemies whose attacks out-damage and out-reach yours. These fights demand firearms and movement.
Dodging and Stagger
Movement is defense in TSC2. The over-the-shoulder camera and the dodge mechanic give you tools to avoid damage rather than tank it — because you absolutely cannot tank it. Health is a resource too, and healing items are no more abundant than ammo.
Based on the demo, the dodge appears to work as a quick sidestep with brief invulnerability frames. Timing matters. Dodge too early and the enemy’s attack tracks you. Dodge too late and you eat the hit. The window seems generous enough to be learnable but tight enough to punish mashing.
Stagger works both ways. You can stagger enemies with melee hits, shotgun blasts, and weak-point strikes. But enemies can stagger you too — the Drowned charging through shallow water or a cultist landing a heavy blow will interrupt your actions. Keeping distance and dodging preemptively is usually safer than trying to out-trade a creature in melee range.
Movement Tips
- Circle, don’t backpedal. Moving laterally is faster than walking backward and keeps you out of linear charge attacks.
- Use doorways and chokepoints. Enemies funneling through a single door are easy weak-point targets. Let the environment do the crowd control.
- Sprint has a cost. The demo showed a stamina-like system for sprinting and dodging. Don’t burn it all on running if you need dodge charges for the fight.
Fight or Flee: The Most Important Decision
Not every encounter in The Sinking City 2 needs to end with a dead enemy. This might be the hardest habit to build if you’re used to action games, but it’s the defining skill of survival horror: knowing when to just leave.
Signs You Should Run
- You’re low on ammo and healing items.
- There are three or more enemies and you don’t have a chokepoint or environmental advantage.
- The enemy type is one you haven’t learned to fight efficiently yet — wasting resources on a bad attempt is worse than retreating.
- You’re in a flooded area with Deep Ones and no high ground. Their turf, their rules.
- You can hear or see shadow anomalies warping the environment. These aren’t always meant to be fought head-on.
Signs You Should Fight
- The enemy is blocking the only path forward and can’t be bypassed.
- You have a clear weak-point shot and enough ammo to finish the fight in two or three rounds.
- The enemy is guarding a resource stash that you need. Sometimes the ammo you spend is less than the ammo you find.
- You’re confident in the enemy’s patterns and your ability to dodge.
Using the Environment
Arkham’s flooded, crumbling architecture isn’t just set dressing — it’s a tactical tool. The demo hinted at several ways the environment interacts with combat:
- Explosive objects. Fuel cans, gas lines, old electrical equipment. Shoot them when enemies are nearby for area damage without spending premium ammo.
- Water and elevation. Flooded rooms change the fight. You’re slower in water, but so are land-based enemies. Aquatic enemies like the Deep Ones get faster. Pay attention to water depth and find dry ground or elevated positions when possible.
- Destructible barriers. Some walls, doors, and barricades can be broken — by you or by enemies. This cuts both ways: you can create shortcuts to escape, but a charging creature can tear through your cover.
- Light and darkness. Your flashlight reveals weak points and enemy positions, but it may also attract attention. The interplay between visibility and stealth is a tension the game seems to lean into heavily.
- Boat sections. When traveling between districts by boat, you’re exposed. Keep an eye on the water — things surface.
Putting It All Together
The flow of a typical combat encounter in TSC2 probably looks something like this:
- Assess. How many enemies? What types? Do you have a chokepoint or environmental advantage? Can you skip this fight entirely?
- Position. Get to high ground, a doorway, or behind cover. Don’t fight in the open if you can help it.
- Identify weak points. Use your flashlight. Wait for the enemy to move or attack — some weak points only show during specific animations.
- Open with precision. A rifle shot to the weak point from range, or a melee stagger into a point-blank pistol follow-up. Make the first hit count.
- Manage the space. Dodge lateral, circle, use the environment. Don’t let enemies surround you.
- Decide when to stop. If the fight is going badly — you’ve missed shots, taken hits, burned through healing — disengage. A closed door buys you time. Retreat is always an option until it isn’t.
For enemy-specific breakdowns, check our bestiary entries on the Slither, the Deep Ones, the Stalkers, and shadow anomalies. And if you’re wondering what to upgrade first to make all of this easier, our best early upgrades guide has you covered.
Arkham wants you dead. The water’s rising, the things in it are hungry, and your pockets have maybe twelve bullets and a prayer. But if you aim well, move smart, and know when to save your ammo for something worse down the hall — you’ll make it. Probably.
Frequently asked questions
How does the weak point system work in The Sinking City 2?
Enemies have glowing or visually distinct weak points — exposed organs, luminous growths, or unarmored joints. Hitting these spots deals significantly more damage and can stagger or cripple the enemy, saving you precious ammo.
Should I use melee or firearms in The Sinking City 2?
Use melee for isolated, slower enemies and to conserve ammo. Firearms are best saved for dangerous targets like Deep Ones or when you're outnumbered. Mixing both is the key to survival.
Can you avoid combat entirely in The Sinking City 2?
Some encounters can be bypassed through stealth, alternate routes discovered via the investigation system, or simply running past enemies. Not every fight needs to happen — ammo is too scarce for that.