How to Fight the Slither in The Sinking City 2
Complete tactics for defeating the Slither in The Sinking City 2 — weak points, melee strategies, dealing with groups, and how the animated dead hunt you.
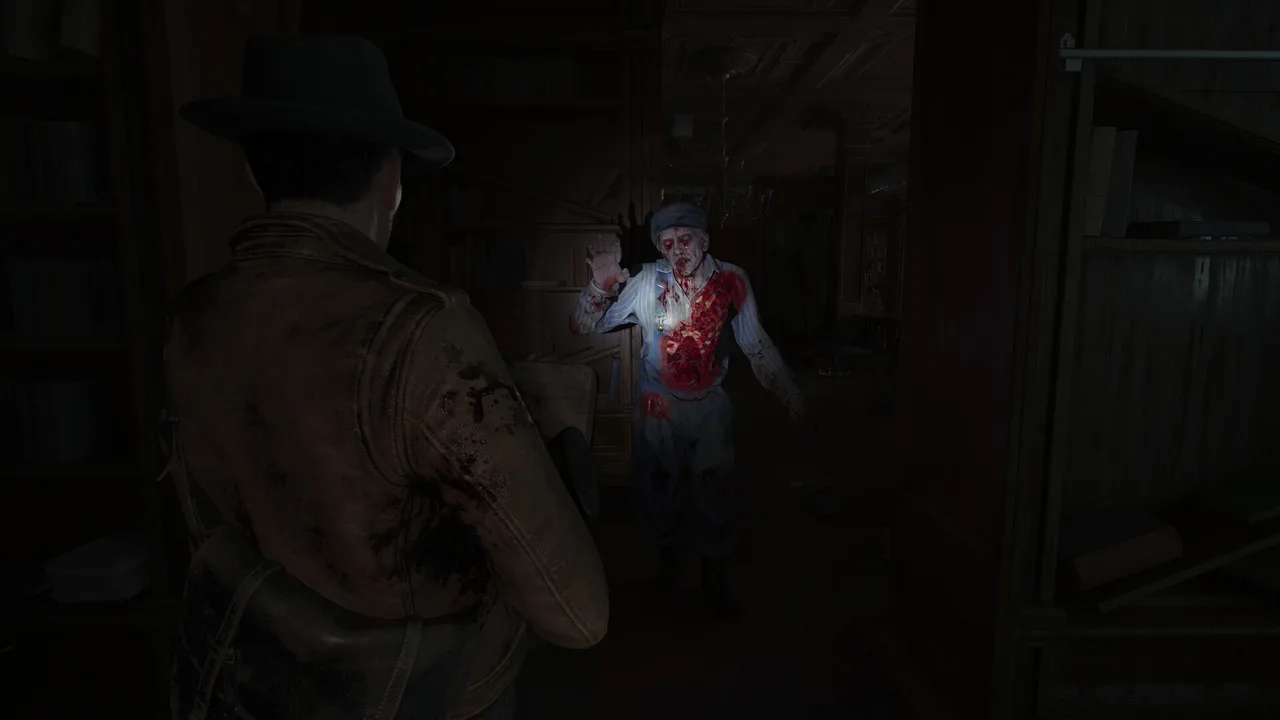
You hear it before you see it — a wet dragging sound, like something heavy being pulled across a soaked wooden floor. Then the smell hits: brine and rot and something else, something that doesn’t belong to anything that was ever properly alive. The Slither rounds the corner and it’s exactly what it sounds like. A dead thing that didn’t get the memo.
The Slither is The Sinking City 2’s foundational enemy — the reanimated dead of drowned Arkham, bodies twisted by eldritch forces into something that walks, grabs, and kills without any of the limitations the living have. Think of them as TSC2’s equivalent of zombies in Resident Evil or necromorphs in Dead Space, except Frogwares has given them enough mechanical wrinkles to keep them interesting past the first hour.
They’re slow. They’re predictable. And they will absolutely kill you if you get sloppy, because they almost never show up alone.
What Makes the Slither Dangerous
On paper, a single Slither is the least threatening enemy in Arkham. It shuffles. It telegraphs its attacks. It doesn’t dodge or flank or do anything clever. So why does it kill players?
Numbers. Slithers travel in packs. Frogwares has been clear that the animated dead are a pressure enemy — they overwhelm through volume, not individual threat. A hallway with one Slither is a free kill. A room with five of them closing in from three directions while you’re trying to reload is a nightmare.
Durability. Body shots do remarkably little. The Slither absorbs bullets to the torso like they’re minor inconveniences. Without targeting weak points, you’ll spend three, four, five revolver rounds on a single one — rounds you can’t afford in a game this stingy with ammo.
Grab attacks. If a Slither gets within arm’s reach, it grabs. The demo showed a grapple animation where the creature latches on and deals sustained damage until you break free. Getting grabbed by one while two more close in behind you is a death sentence in all but name.
They show up everywhere. Unlike Deep Ones, which are tied to water, or shadow anomalies that appear in specific reality-warped zones, Slithers are the universal rank-and-file. Hospitals, speakeasies, flooded apartments, fish markets — if there’s a room with a dead person in it, that dead person might not stay down.
Weak Points
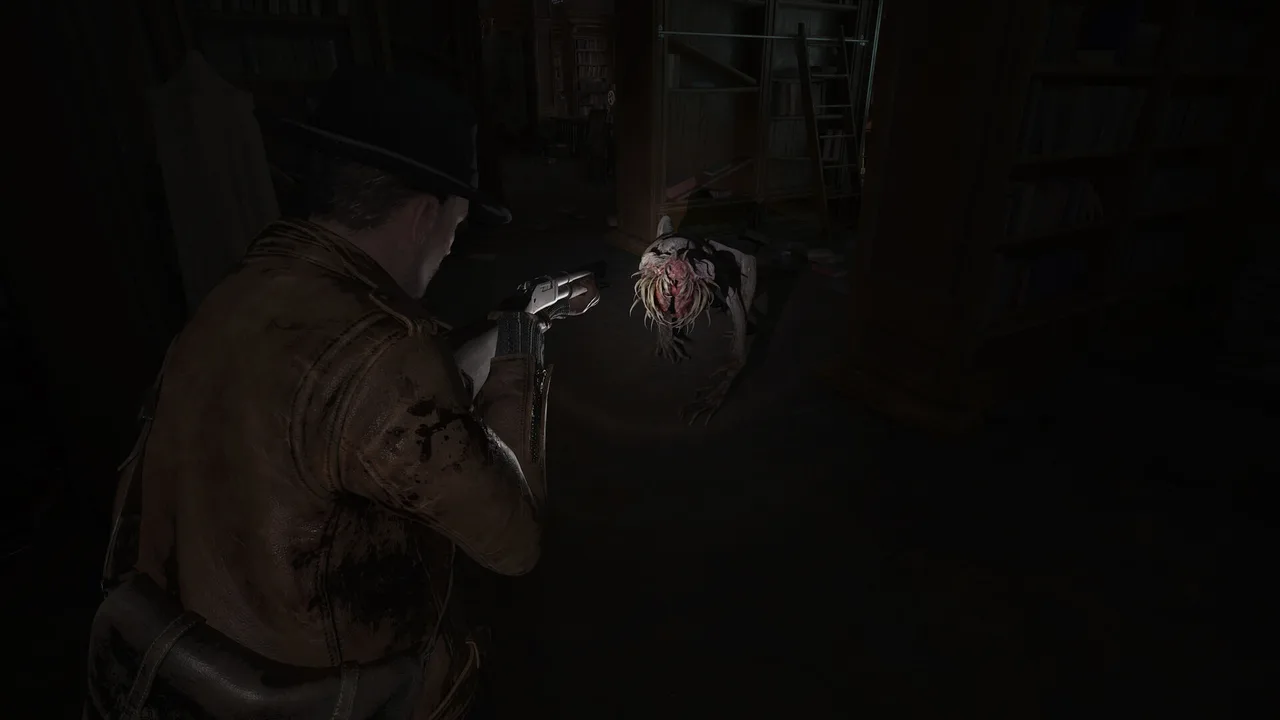
The Slither’s weak points appear to follow a pattern consistent with reanimated-corpse enemies across the survival horror genre, with Frogwares adding some distinctly Lovecraftian touches.
| Weak Point | How to Spot It | Effect |
|---|---|---|
| Head / cranial mass | Distorted, swollen, or glowing growth on or around the skull | Major damage, likely instant kill on a clean shot with stronger weapons |
| Exposed spine / back growth | Visible when the Slither turns or reaches for a grab — a luminous mass along the upper back | Heavy damage, probable stagger |
| Limb joints | Visually degraded — thinner, cracked, discolored | Cripple effect — a legless Slither still crawls but much slower |
The head is your priority target. A single well-placed revolver shot to the cranial weak point should drop a Slither, or at minimum stagger it hard enough for a follow-up kill. Compare that to four or five body shots for the same result. The math is obvious: learn to aim for the head.
The spine/back growth is trickier because it requires the Slither to be facing away from you or mid-turn. If you can position yourself to flank — especially when there’s only one in a room — you can get a free shot at it. In group encounters, a Slither reaching for another target might expose its back to you.
Limb targeting is situational but useful. A Slither with a destroyed leg joint still comes after you, but at a crawl. In group encounters, crippling one or two to slow them down while you deal with the faster ones is a valid tactic. Just don’t forget they’re still alive on the floor — crawling Slithers can still grab your ankles.
Melee: This Is Their Best Use Case
If there’s one enemy in TSC2 where melee combat genuinely shines, it’s the Slither. Their slow movement speed gives you the time and space to swing, connect, recover, and swing again without the frantic scramble that melee against faster enemies involves.
The Melee Loop
Here’s the basic pattern for melee-killing a single Slither:
- Wait for it to commit to an attack. The Slither telegraph is generous — a lunge or a wide arm swing with a clear wind-up.
- Dodge laterally. Step to the side, not backward. This puts you at the Slither’s flank.
- Swing at the weak point. From the side, the head or back growth should be within reach. A charged or heavy melee attack to the weak point may one-shot it.
- Reset. Step back, let it turn toward you, wait for the next attack animation, repeat if needed.
This loop costs you zero ammo. Zero. Against a single Slither in a corridor, that’s an enormous savings — bullets you keep for Deep Ones or whatever’s waiting at the end of the chapter.
When Melee Breaks Down
The loop falls apart when there’s more than one. You can’t dodge one Slither’s attack and swing at its head when a second one is reaching for your back. In group encounters, melee should be a supplement, not the whole strategy:
- Thin the herd with firearms first. Drop one or two with quick weak-point shots, then melee the survivors.
- Use doorways. If you can retreat to a doorway, only one can come through at a time. That restores the one-on-one melee scenario.
- Don’t get greedy. One swing, then reposition. Two swings and you’re committed long enough for a flanking Slither to grab you.
Firearms Against the Slither
Since melee handles individual Slithers so well, you should think of firearms as your group-management tool for these encounters.
Revolver: The efficient choice. One shot to the head weak point should stagger or kill. Use it to pick off Slithers that are closing in while you melee the nearest one. Quick to draw, quick to fire, moderate ammo cost.
Shotgun: Overkill against a single Slither, but devastating against a cluster. If three of them are funneling through a doorway, a shotgun blast can stagger or kill the front one and damage the others. Worth the shells if the group is large enough to justify it, but generally save your shotgun ammo for tougher enemies.
Rifle: Not ideal. The Slither’s slow speed means you don’t need the rifle’s range advantage, and the bolt-action pacing means you’re spending time between shots that a revolver handles better. Use the rifle on enemies that punish you for getting close — the Slither isn’t one of them.
Group Encounters: The Real Challenge
Everything above assumes controlled, manageable fights. The reality in TSC2 is that Slither encounters escalate. You start a room with two, then hear dragging sounds from the adjacent hallway, then a closed door rattles. The game uses them as pressure — they keep coming while you’re trying to accomplish something else.
Crowd Management Strategies
Chokepoints are king. Find a doorway, a narrow corridor, a gap between furniture. Anything that forces Slithers to approach single-file turns a five-on-one into five sequential one-on-ones. Stand on the far side, melee the first one through, let the next one stumble over the body.
Kite in circles. In open rooms where you can’t find a chokepoint, keep moving. Walk — don’t sprint — in a wide circle around the room. Slithers are too slow to cut you off if you maintain a steady pace. Pick off the closest one with a quick weak-point shot, keep moving, pick off the next. The group strings out into a line that you deal with sequentially.
Prioritize the closest threat. Don’t try to line up a fancy shot on a distant Slither when one is three steps from grabbing you. Drop the nearest one, then look around. Tunnel vision on a single target while others close in is the most common death pattern in these encounters.
Environmental damage. Explosive objects, electrical hazards, and collapsible structures near groups of Slithers are gifts. A single shot to a fuel can near three Slithers beats spending nine revolver rounds on individual kills. Always, always look around the room before engaging.
Sometimes you leave. If a room has more Slithers than you have resources for, and there’s a route around it, take the detour. Heroism is expensive. The investigation system sometimes reveals alternate paths that bypass heavy encounters entirely.
Recognizing Slither Variants
The demo primarily showed one type of Slither, but Frogwares has implied there will be variations — stronger reanimated dead with different behaviors, possibly tied to how or when they died. Based on survival horror conventions and the demo hints:
- Fresh Slithers may be faster and more durable, with less-obvious weak points.
- Decayed Slithers might be slower and fragile but appear in larger numbers.
- Bloated or waterlogged Slithers could have different movement patterns in flooded areas — possibly even being partially aquatic.
- Eldritch-infused variants might exhibit supernatural behaviors — splitting, regenerating, or exploding on death.
This is speculative. Frogwares hasn’t detailed the full Slither lineup yet. But expect the base tactics to scale: target weak points, use melee where safe, manage groups through positioning, and save your heavy ammo for the variants that demand it.
The Slither vs. Other Enemies
Understanding where the Slither fits in Arkham’s threat hierarchy helps you budget resources:
| Enemy | Speed | Damage | Best Response | Ammo Cost |
|---|---|---|---|---|
| Slither | Slow | Moderate (high in groups) | Melee + pistol weak-point shots | Low if played right |
| Deep Ones | Fast (in water) | High | Shotgun, rifle, environmental | High |
| Cultists | Human | Varies (ranged + melee) | Cover, precision shooting | Moderate |
| Shadow Anomalies | Unpredictable | Extreme | Likely puzzle/mechanic-based | Unknown |
The Slither is your ammo bank. Handle them cheaply and you’ll have resources left for the encounters that actually test you. Waste your ammo on body shots against Slithers and you’ll hit the next Deep One encounter with an empty gun and a prayer. For broader strategies, check our complete combat guide.
They’re slow. They’re stupid. They’re dead. But there are a lot of them, and Arkham is full of dark corners where dead things wait. Learn the head shot. Learn the dodge. Learn to let them come to you. The Slither isn’t the scariest thing in the water — but disrespect it, and it’ll be the thing that ends your run.
Frequently asked questions
What is the Slither in The Sinking City 2?
The Slither is an animated dead enemy — corpses reanimated by eldritch forces in Arkham. They're slow individually but dangerous in groups, and they absorb a lot of damage unless you target their weak points.
Can you use melee against the Slither?
Yes — the Slither is one of the best enemies to melee in the game. Their slow speed gives you time to line up swings and dodge their attacks. Melee saves valuable ammo for tougher threats like Deep Ones.