The Sinking City 2 Puzzle and Safe Code Guide: Obelisk, Brain Machine, and More
Locate and solve the toughest mysteries in drowned Arkham with our complete guide to safe codes and major puzzles in The Sinking City 2.
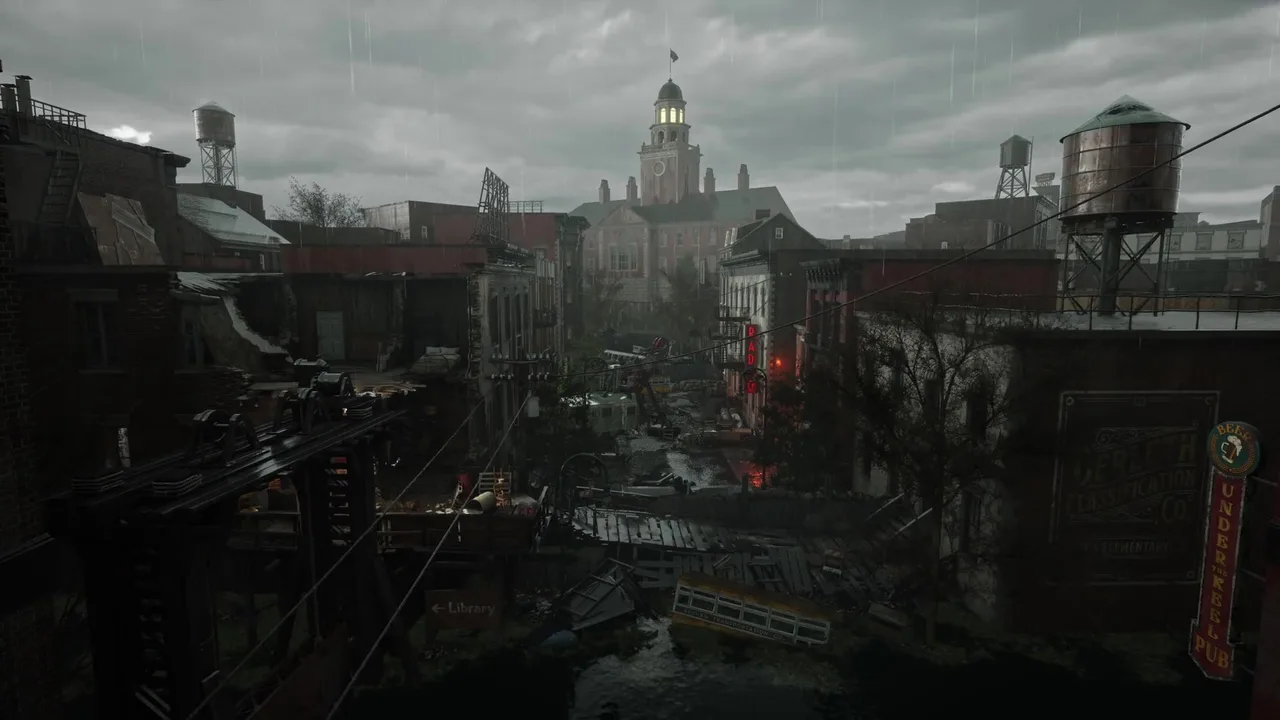
Frogwares has boldly steered The Sinking City 2 strictly into the survival horror genre. Leaving the somewhat forgiving streets of Oakmont from the 2019 original behind, players are now plunged into a flooded, relentless version of Arkham built on Unreal Engine 5. While you will spend a significant amount of time managing scarce ammunition and dodging the aquatic horrors that stalk the submerged alleys, the developer has not completely abandoned its detective roots. The city is still littered with intricate puzzles, hidden caches, and cryptic locked containers. In a game where every single bullet and syringe counts, tracking down safe codes and solving arcane mechanisms is not just a side activity—it is a mandatory survival tactic.
This guide breaks down the major puzzles, complex narrative roadblocks, and crucial safe codes you will encounter during your descent into madness. Exploring these flooded ruins is dangerous, but the rewards tucked away inside these heavy iron boxes are exactly what you need to make it through the night.
The Role of Investigation in a Survival Horror Setting
Unlike its predecessor, where deduction and case-solving were the primary focus, this sequel treats investigation as a desperate means to stay alive. The flooded streets of Arkham are treacherous, and finding a hidden cache often means risking an encounter with nightmarish enemies. As you utilize the investigation board to string together disparate clues, you will frequently find combinations and passwords scribbled in the margins of tragic letters or cultist manifestos.
The rewards for cracking these codes are substantial, typically granting essential crafting materials, first-aid items, or crucial story artifacts needed to progress. However, you must always ensure your weapons are loaded and your sanity is somewhat stable before attempting to carefully open a vault, as making noise or lingering in the dark can attract unwanted attention from the depths.
The Martin Safe Code (Garrison Street, Apartment 5)
Early in your journey, the main narrative will hand you the objective to “Reach the Miskatonic Library Annex.” Along this treacherous route, you will find yourself navigating the dilapidated, water-logged remains of Garrison Street. Inside the hauntingly quiet walls of Apartment 5, an imposing locked box known as the Martin Safe stands against the peeling, moldy wallpaper.
To open this safe, you must locate two specific notes that provide the necessary historical context of the residents. The first clue, simply titled “To Martin,” is pinned directly to the safe itself, making it impossible to miss. You will then need to search the immediate area, checking the surrounding furniture, to find the second document labeled “From A Sister.”
Reading both notes carefully reveals that the numeric combination is deeply tied to the father’s “proudest moment,” which corresponds to a specific date mentioned in the sister’s letter. Inputting the correct numbers derived from this tragic family history will pop the heavy lock, yielding much-needed provisions early in the game when you are at your most vulnerable.
Cracking the Devil’s Reef Hotel Safe
The Devil’s Reef Hotel serves as a grim landmark in the submerged city, and exploring its dilapidated ground floor yields another heavy locked vault. Finding the code here requires a bit of environmental awareness and lateral thinking. Start your search in the VIP area, which is located just behind the main reception counter. Here, you will discover a crumpled page of lyrics resting on a decaying table.
Additionally, tracking down the staff room key allows you to access two restricted doors nearby; inside one of these rooms, a hastily written note explicitly states that the combination to the front safe is hidden entirely within the structure of those lyrics. While perceptive players might deduce the numbers directly from the verses without the staff note, acquiring all the evidence solidifies the answer in your casebook. Extract the digits hidden in the stanzas, enter them into the heavy metal dial, and claim your rewards before retreating to safety.
The Obelisk Puzzle (Charging the Trident)
Progressing into Chapter 2 introduces the harrowing objective “Save the Woman at the Devil’s Reef Hotel,” which quickly spirals into a cosmic mystery involving the town’s corrupted church. Inside the flooded church grounds, you will encounter the Obelisk Puzzle—a mandatory progression blocker that requires you to charge an ancient artifact to survive the horrors ahead.
To succeed, you must track down three crucial documents scattered around the decaying pews and blasphemous altars: “A Call Upon Believers,” “Notes on the Path,” and “The First Vision.” Interacting with the central stone obelisk prompts you to insert the Trident. The mechanism demands that you match specific eldritch gods with their corresponding occult symbols based on the descriptions found specifically in the “Call Upon Believers” and “The First Vision” texts.
Aligning the rings correctly causes the symbols to emit an eerie, otherworldly glow. Stand your ground and wait for a supernatural lightning strike to hit the spire. Once the cinematic sequence ends, you will be rewarded with the Lightning-Imbued Trident—a powerful tool for both solving environmental blockers and warding off the horrors lurking in the dark waters.
The Wireless Room Brain Puzzle (Unlocking The Whisperer)
Perhaps the most grotesque and memorable puzzle occurs in Chapter 3, appropriately titled “A Sight for Sore Eyes.” While exploring the grim confines of the Wireless Room, you will stumble upon an optional, macabre challenge involving three severed brains connected to a pulsing array of archaic machinery. Solving this sequence rewards you with “The Whisperer” trophy and provides unique, albeit disturbing, lore insights.
You must interact with the three brains in jars, listening to their fragmented dialogue to gather clues. One of the brains, referred to as Dunwich, provides a mathematical riddle to determine the correct radio frequency required by the central console. The logic requires you to take his initial frequency number, which is 13, and round it to the nearest ten, resulting in 10. You then cut this number in half, giving you 5. Inputting the frequency “05” into the central machine activates a green light, confirming the solution and permanently silencing the agonizing whispers echoing in the room.
Overcoming Environmental Obstacles: Prisms and Locked Buoys
Beyond indoor safes and cultist altars, the flooded exterior of Arkham presents its own set of environmental riddles. While traversing the city, players will encounter two recurring roadblocks: the Memorial Hospital Prism and various Locked Buoys.
The Memorial Hospital is an incredibly hostile zone where your sanity drains rapidly due to the overwhelming presence of the eldritch phenomena. Charging the prism in this area requires manipulating specific light sources to reveal hidden pathways, a stark contrast to the straightforward fetch quests of the original game. It requires speed and precision before the darkness consumes your vision.
Meanwhile, out on the open water, navigators will occasionally bump into sealed buoys bobbing in the murky waves. These maritime caches require passwords often scrawled on the sides of wrecked fishing vessels, hidden on nearby docks, or found in the pockets of drowned sailors. Securing the stash from a Locked Buoy often provides rare ammunition types. Stockpiling this heavy ammo is absolutely essential if you plan to read up on how to fight the Slither and actually survive the encounter when you are forced into a corner.
The Absolute Value of Resource Management
Taking the time to scour these flooded locations and solve every cryptic safe is not just a pursuit for achievement hunters looking for 100% completion. Given the strict survival horror mechanics implemented by the development team, skipping these caches will leave you severely under-equipped for the grueling late-game encounters against the Deep Ones.
Every extra bullet, medical supply, and scrap of crafting material counts. The difficulty curve relies heavily on your willingness to explore dangerous rooms rather than just rushing the main path. Players who find themselves constantly out of ammunition and struggling to keep their inventory stocked should consult our resource management guide to ensure they are maximizing the yield from every puzzle solved and every room cleared.
The shift to a combat-heavy survival horror format has not dulled the investigative edge of The Sinking City 2. Solving the Obelisk and Brain Machine, alongside cracking the various safes scattered around Arkham, provides a satisfying blend of brain-teasing deduction and tense exploration. Keep your flashlight steady, read every document carefully, and never assume the room is empty while you turn the dial on a heavy iron safe.